
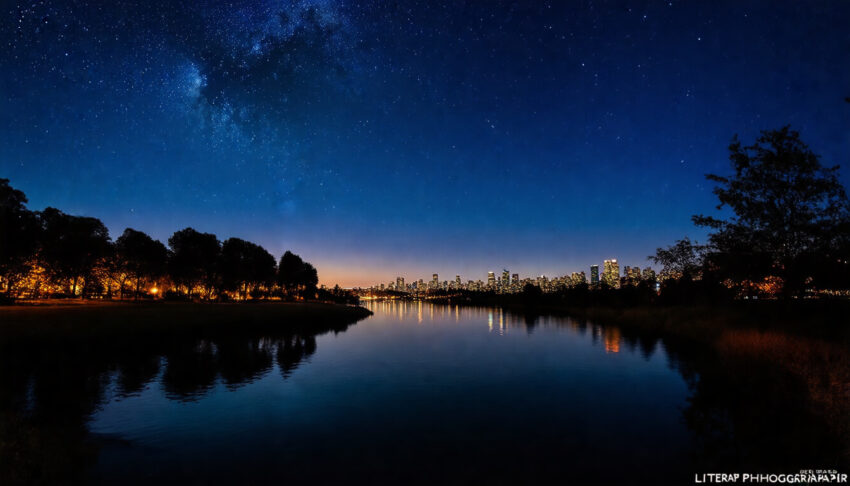
Night photography captures the world in a state that often goes unnoticed in the brightness of day. The play of shadows, the vibrant hues of artificial lights, and the serene stillness create opportunities for rich, evocative storytelling. This genre of photography invites both technical prowess and artistic vision, merging the mechanics of capturing light with the emotive capabilities of visual narratives. As the sun sets and darkness envelops the landscape, new dimensions of creativity emerge, revealing stories and feelings that are uniquely tied to the night.
This article serves as a comprehensive guide to mastering night photography, covering everything from essential equipment and camera settings to practical techniques and post-processing strategies. Whether you are a budding photographer or a seasoned professional looking to expand your skill set, understanding the intricate nuances of shooting in low-light conditions can elevate your after-dark images, transforming them into compelling pieces of art that resonate emotionally with viewers.
Key Takeaways
- Mastering the basics of night photography is crucial for capturing breathtaking images after dark.
- Investing in essential equipment like a sturdy tripod and fast lenses enhances your night photography experience.
- Understanding camera settings such as ISO, shutter speed, and aperture is vital for shooting in low-light conditions.
- Employing techniques such as long exposures and light painting can lead to stunning nighttime compositions.
- Post-processing can significantly improve your night shots, so don’t skip this step in your photography workflow.
Understanding the Basics of Night Photography
Night photography captivates the imagination, transforming landscapes and urban scenes into realms of mystery and allure. At its core, night photography is a genre that explores the art of capturing images after the sun has set, utilizing artificial light sources, long exposure techniques, and the inherent beauty found in low-light conditions. The allure of night photography lies not just in the visuals but also in the unique challenges it presents. Understanding the basics is essential for any photographer looking to harness the emotive power of nighttime imagery. This includes mastering fundamental elements like exposure settings, composition techniques, and recognizing the value of different light sources. As the ambient light diminishes, the photographer is compelled to engage with their surroundings in innovative ways. Whether you are a beginner aiming to photograph the starry sky or an experienced artist seeking to capture the vibrant energy of a city at night, a grasp of the basic tenets of night photography will not only enhance your technical skills but also deepen your appreciation for this enchanting medium.
Essential Equipment for Night Photography
When venturing into the realm of night photography, having the right equipment at your side is imperative to capturing the enchanting beauty hidden in shadow and light. The essential tool is, of course, a camera capable of manual settings; DSLRs and mirrorless systems provide excellent control over exposure and focus. A sturdy tripod is also vital, allowing for long exposures without camera shake, which is crucial for clear, detailed images in low-light settings. Additionally, a remote shutter release can prevent vibrations caused by pressing the shutter button, ensuring sharpness in your photos.
Selecting the right lens makes a significant difference in night photography. Fast lenses with wide maximum apertures, such as f/
1.4 or f/2.8, enable you to capture more light, reducing the need for higher ISO settings and potentially resulting in less noise. Wide-angle lenses are particularly advantageous for capturing expansive night scenes and star trails, while telephoto lenses can be employed for isolating details in your compositions.
In terms of accessories, a flashlight or headlamp can prove invaluable for navigating dark environments and for adjustments to your gear. Filters, especially neutral density (ND) filters, allow for longer exposures in situations where ambient light may disrupt your vision. Maintaining a clean sensor and ensuring your batteries are fully charged are additional, often overlooked, components that can save you from the frustrations of equipment failure at the critical moment.
‘The best camera is the one you have with you, especially when the lights go down and the night unveils its beauty.’ – Unknown

Camera Settings for Low-Light Conditions
Night photography presents a beautifully textured world that thrives in shadows and highlights luminescence. To capture its essence effectively, specific camera settings become essential. First, set your camera to a low ISO, ideally between 100 and 800, to minimize noise while still allowing for the light you’ve got to work with. Next, use a wide aperture, such as f/2.8 or lower if your lens allows, to let in as much light as possible and achieve that beautiful shallow depth of field. Shutter speed is crucial; use a slower speed to gather more light, typically at least 1/30 second or longer, depending on your subject and stability. A tripod is highly recommended for these settings to keep your camera steady while capturing the scene. During these moments, experimentation with settings can reveal stunning contrasts and ethereal qualities, transforming simple moments into evocative nighttime narratives.
Techniques for Capturing Stunning Night Shots
Night photography is an art in itself, combining technical expertise with an eye for storytelling. Capturing stunning night shots involves understanding the unique challenges and opportunities that low-light environments present. A key aspect of night photography is the use of longer exposure times, which allows you to capture more light and create beautiful, ethereal images. To get started, it’s essential to use a sturdy tripod to minimize movement and vibrations during long exposures. This stability is crucial when working with slower shutter speeds, which can range from a fraction of a second to several minutes, depending on the ambient light in your scene.
In terms of camera settings, a low ISO (generally between 100-400) will help to maintain image quality and reduce noise, while a wide aperture (a low f-stop number) allows more light to hit the sensor, enhancing the overall brightness of your night shots. Moreover, experimenting with different shutter speeds can yield fascinating results—long exposures can turn moving lights into beautiful trails, adding a dynamic element to your compositions.
Using manual focus is often preferred during night photography since autofocus systems may struggle in low light. When composing your shot, consider incorporating interesting foreground elements to add depth, and experiment with framing to lead the viewer’s eye into the scene.
In addition, don’t forget to embrace the color temperature of artificial lights, which can create a rich tapestry of blues, oranges, and warm tones in your images. By manipulating your white balance settings, you can enhance or alter the mood you wish to convey, allowing your night photographs to tell a more compelling story.
Lastly, post-processing is an integral part of night photography; software like Adobe Lightroom or Photoshop can help you bring out the details hidden in your images, adjust the exposure and contrast, and tweak colors to achieve your artistic vision. By mastering these techniques and understanding how to utilize light in new ways after the sun sets, you can create stunning night photography that captivates and enchants the viewer.

Post-Processing Tips for Night Photography
When it comes to night photography, post-processing plays a crucial role in transforming your images from raw captures into stunning visual narratives. The first step in your editing process should be to adjust the exposure. Night scenes often require careful balancing of light and shadow to highlight important details without losing the atmosphere. Next, consider tweaking the white balance; nighttime photos can sometimes have an unwanted color cast due to artificial lighting, which can be corrected by adjusting the temperature slider in your editing software.
Additionally, increase contrast to bring depth to your photos, making highlights pop against shadows. Noise reduction is another critical aspect, as night photography often results in grainy images due to higher ISO settings. Use noise reduction tools judiciously to maintain image sharpness while smoothing out unwanted grain.
Don’t forget to enhance the colors and clarity. Boosting vibrance can bring out those subtle hues often muted in low light. Finally, apply sharpening carefully, particularly around the edges of key subjects to draw the viewer’s eye. Through these post-processing techniques, you can elevate your night photographs, ensuring they encapsulate not only the technical precision but also the emotional depth of the scene.
Common Mistakes to Avoid in Night Photography
Night photography, while incredibly rewarding, presents a unique set of challenges that can frustrate even the most seasoned photographers. One common mistake is underestimating the importance of exposure settings. Low light conditions demand longer exposures, which can lead to motion blur if the camera is handheld. This is why using a sturdy tripod is essential. Another frequent error is relying solely on auto mode; manual settings allow greater control over aperture and ISO, enabling you to creatively adapt to varying light sources. Additionally, many photographers neglect to scout locations ahead of time, familiarize themselves with their surroundings, and plan their compositions in advance. This oversight can diminish the storytelling potential of the scene. Lastly, failing to adjust white balance settings according to the light source can result in unnatural color casts, thus impacting the mood of your images. By being mindful of these pitfalls, photographers can enhance both the technical quality and emotional impact of their night photography.
Frequently Asked Questions
What is night photography?
Night photography refers to the practice of capturing images in low-light conditions, typically after sunset. It requires special techniques and equipment to produce clear, stunning images in the dark.
What equipment do I need for night photography?
Essential equipment for night photography includes a DSLR or mirrorless camera, a sturdy tripod, a remote shutter release or timer, fast lenses (with a wide aperture), and optionally, a flashlight for focusing.
What camera settings are best for low-light photography?
In low-light conditions, use a low ISO setting to reduce noise, a wider aperture (lower f-stop number) to allow more light to enter, and longer exposure times to capture enough light for a well-exposed image. Shutter speed will depend on the effect you wish to achieve, but it usually needs to be slower than in daylight.
What are some common mistakes to avoid in night photography?
Common mistakes include using an inappropriate ISO setting (too high or too low), not stabilizing the camera properly (leading to blurry images), failing to focus correctly in low light, and ignoring the importance of composition due to the darkness.
Can post-processing help improve my night photography images?
Yes, post-processing can significantly enhance your night photography. Techniques like adjusting exposure, contrast, and color balance, as well as noise reduction, can help maximize the quality of your images taken in low light.